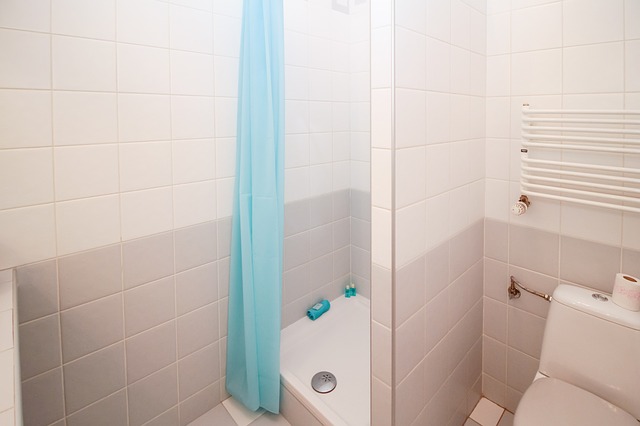
Sealing is essential for a properly functioning sanitary cell. Sealing prevents liquids from entering the rough structure. 7]
Water leaking from showers can cause irreparable damage.
To seal the shower, the floor and wallsmust be sealed under the shower head. Only careful sealing will result in a shower that is functionally sound. In particular, the corners and seams around the shower tray must be tightly sealed.
There are several types of sealants available to protect showers from leaks.
● Most sealing coatingsare liquid. They can be easily applied with a paint roller. In corners, it is easier to use a brush. Liquid sealants, such as caulking paints, are suitable for all household showers with extreme loads. Sealing
● SealingTapeSealingTapeis similar to a seal applied over sealing paint or directly to the wall. Sealing with tape is only a supplemental sealing, although it is necessary in some areas, such as joints around shower pans, vents, drains, and seams. An insulating coating must always be applied.
● A caulking squeegeeis probably too good for home bathrooms. Being somewhat rigid, it is better suited for showers exposed to high stress, such as those in sports clubs or youth hostel shower rooms.
The sealing process may take some time, but we urge you to take your time. The following steps will show you how to do the sealing.
Prepare the surface. This means that small holes and other imperfections should be repaired, and a tile adhesive can be used to good effect. Important: Allow the adhesive to dry thoroughly!
First,seal the surface: Once the substrate is dry, the first coat can begin. Start painting from the corner to be painted. Finish the walls with a paint roller. Important: Insulation should be up to 30 cm above the shower head.
If the sealant is not yet dry, seal sensitive areas with sealing tapeimmediately after painting. Seal the corner seams of the shower tray with sealing tape. The sealing tape should be cut correctly in advance. Next, seal the pipes, drains, and seams. Special sealing sleeves are available for this purpose. You can also cut the sleeves yourself. Apply sealant to the sealed area.
Thoroughly cover the floor with sealant. The first sealant takes 2 hours to dry.
After the drying time, a second sealant layer is applied to the wet cell. The entire sealant layer must be completely dry. Therefore, it is necessary to wait one day until the shower is completely sealed. 55] The last step is [56] finishing. [57] The tiles are applied over the sealer. This process is best done with a thin coat of water repellent mortar directly over the sealer. Finally, seal the joints with silicone. When choosing silicone, quality is important. Unhygienic silicone will not last long and will stress the underlying shower element, which will then need to be resealed.